6 basic things to get started
Last updated: July 28, 2025
WARNING
Please change your password! We strongly advise our customers to change their password upon receipt of the email. Nobody knows it but since the email went via the internet, it is better to change it.
You just received an email telling you that your cloud-pbs instance is online, great !
Now you have two options :
- You can directly connect your Proxmox Virtual Environment to your Cloud-PBS using the command line provided. If this is your choice, you can jump to step 3.
- You can change your password and explore the Proxmox Backup Server web interface using your web browser and the credentials provided.
1. Connect to the web interface
Clic on the link provided in the mail you received. Once you are on the web interface, fill in the login :
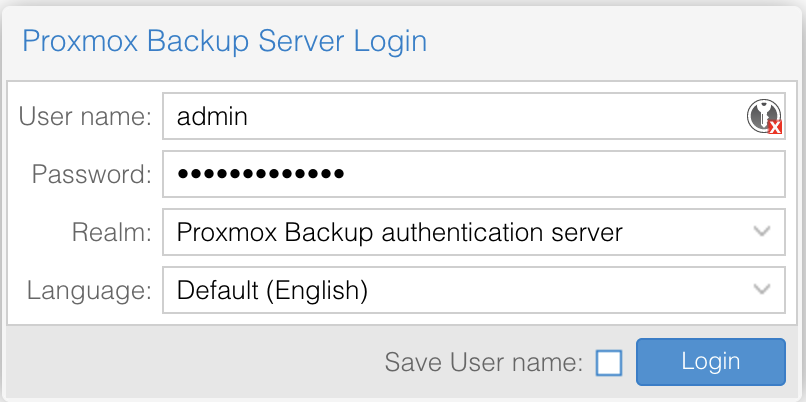
Take care to the realm, it must be “Proxmox Backup authentication server”
Clic on Login and you are in !
2. Enable 2FA
Configure 2FA
To enforce your cloud-pbs.com security, you can enable 2FA. Once you are connected to the web interface :
-
Select Access control on the left.
-
Select the Two factor authentication tab and Add button.
-
Fill the form like below
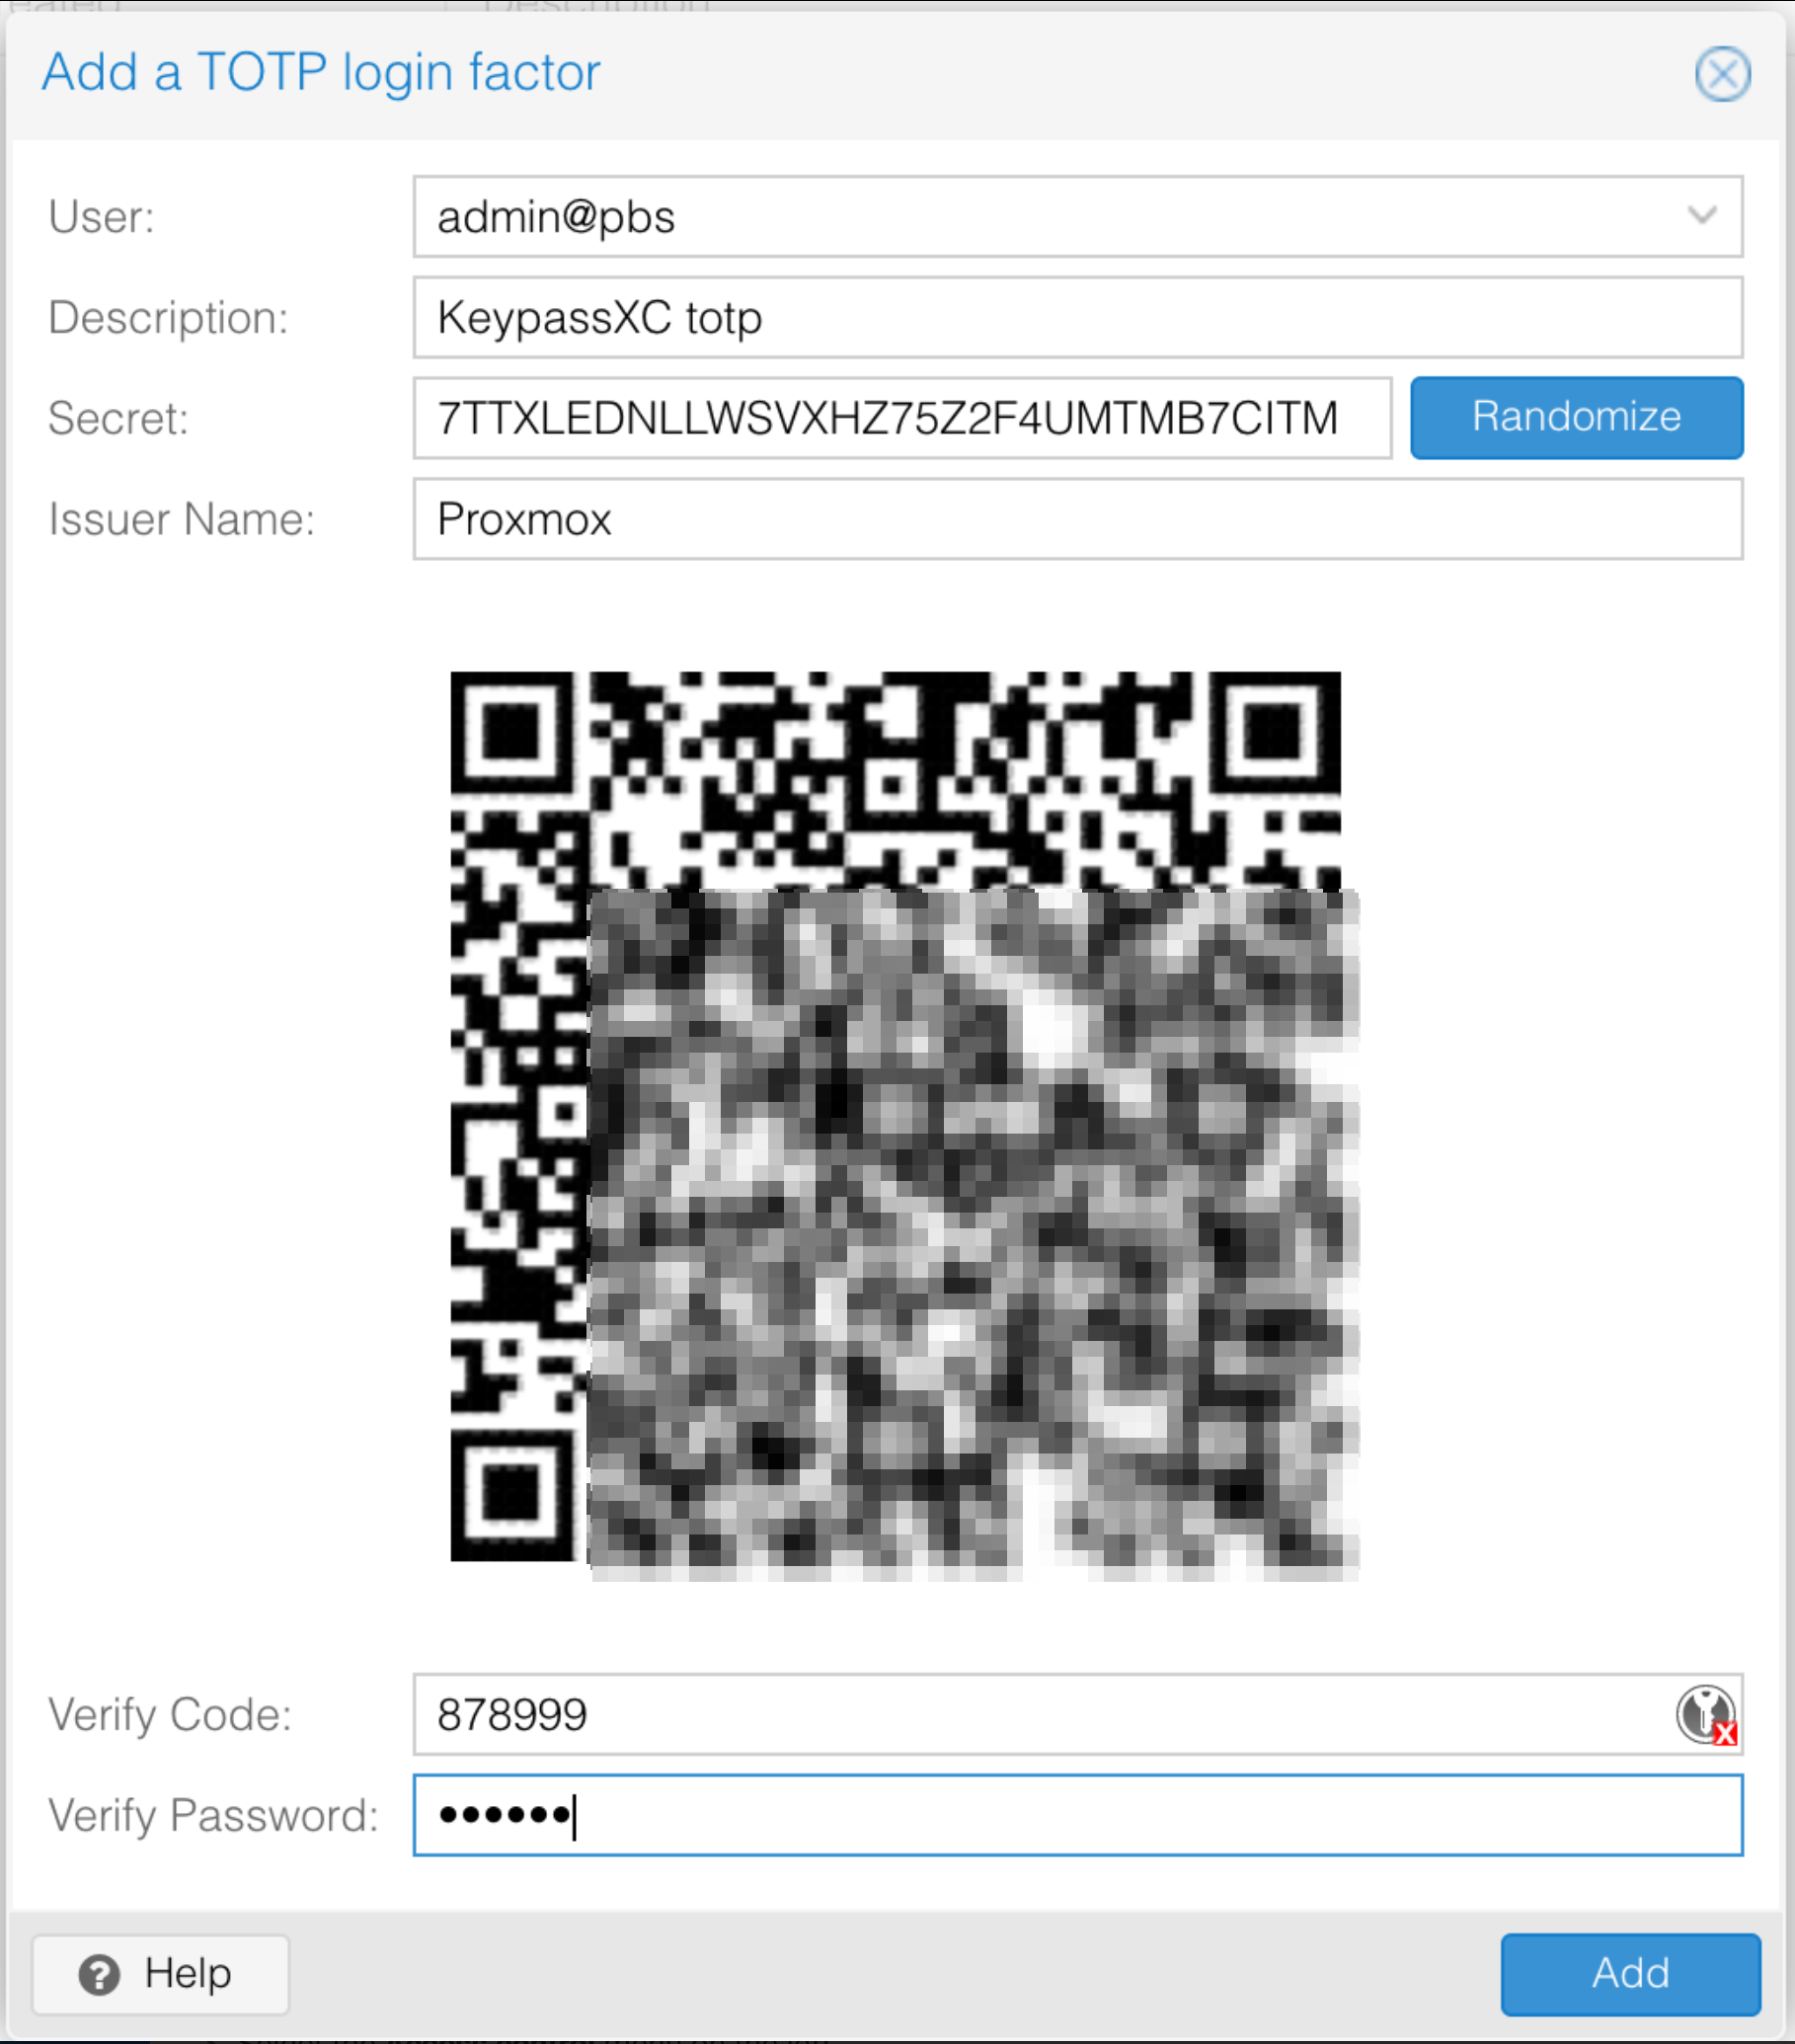
In the Verify Code , write the code provided by your totp application and voila.
Create a token to authenticate your PVE
While 2FA is enabled, you need to create an API token to authenticate your PVE against PBS instead of using regular username and password.
To create your token :
-
Select the Access control menu on the left.
-
In the Api token tab, select Add.
-
Select the user your enabled the 2FA to.
-
Add a token name (example pvehost) and Add.
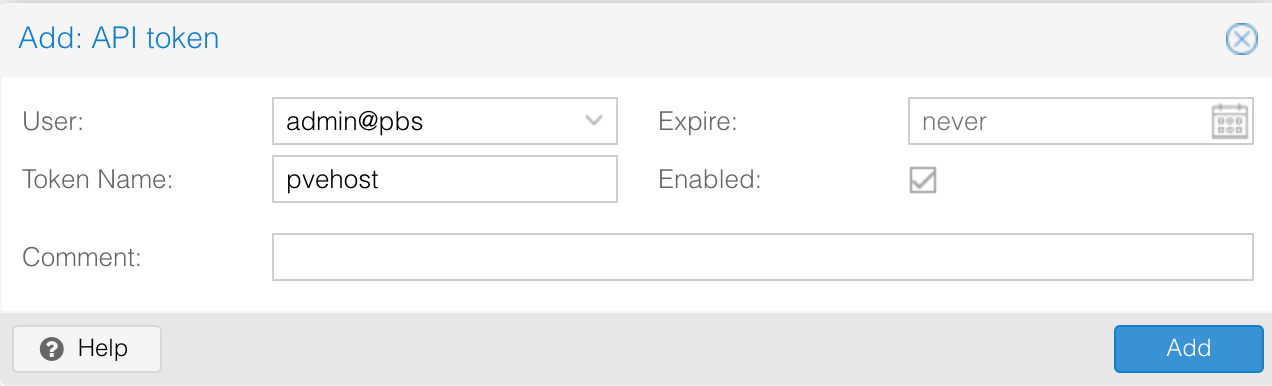
On next step, save your Token ID and Secret.
Add privileges on your token :
-
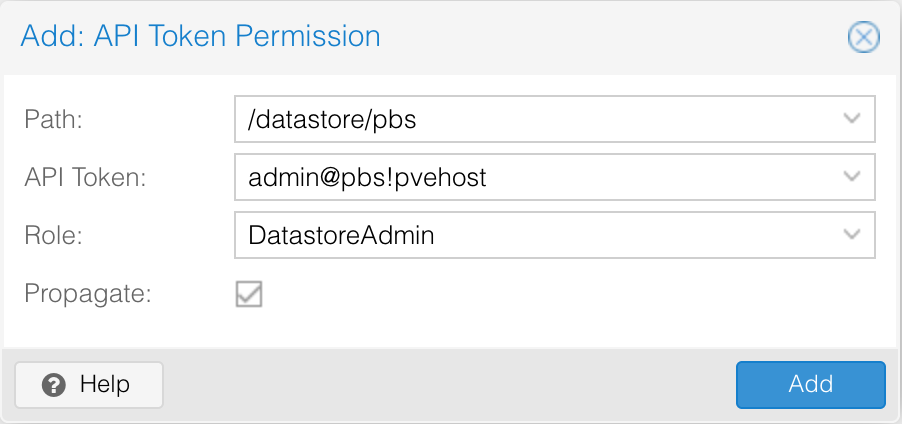
Still in the Access control menu, select the Permissions tab, then Add button and Api Token Permission.
-
Configure the permissions like below:
- Path is the datastore you want to grant privileges to.
- API Token is the Token ID created before.
2FA is configured and working.
3. Add your cloud-pbs.com storage to your pve
You are now ready to connect your Cloud-PBS instance to your Proxmox Virtual Environment server.
To achieve this task your have two options : from command line interface of using the GUI.
Replace the informations betwen ”<>” matching your credentials and url.
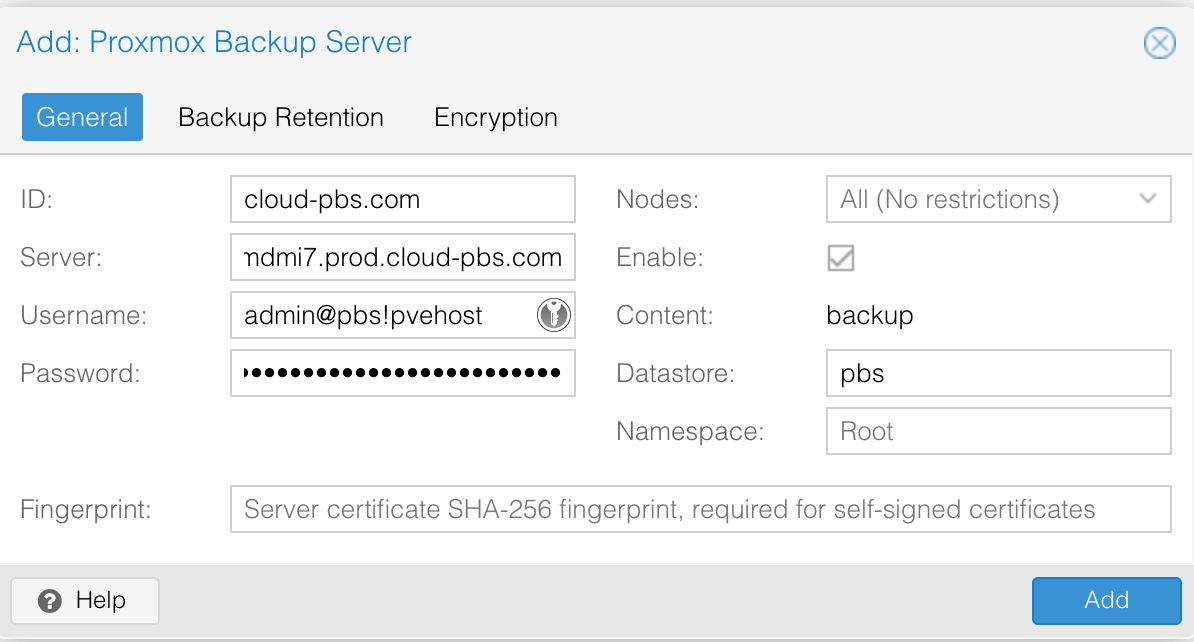
With 2FA
Command line on your PVE host
pvesm add pbs cloud-pbs.com --server <Cloud-PBS_Hostname> \
--datastore pbs --username <tokenID> \
--password <tokenSecret>
GUI from your PVE web interface
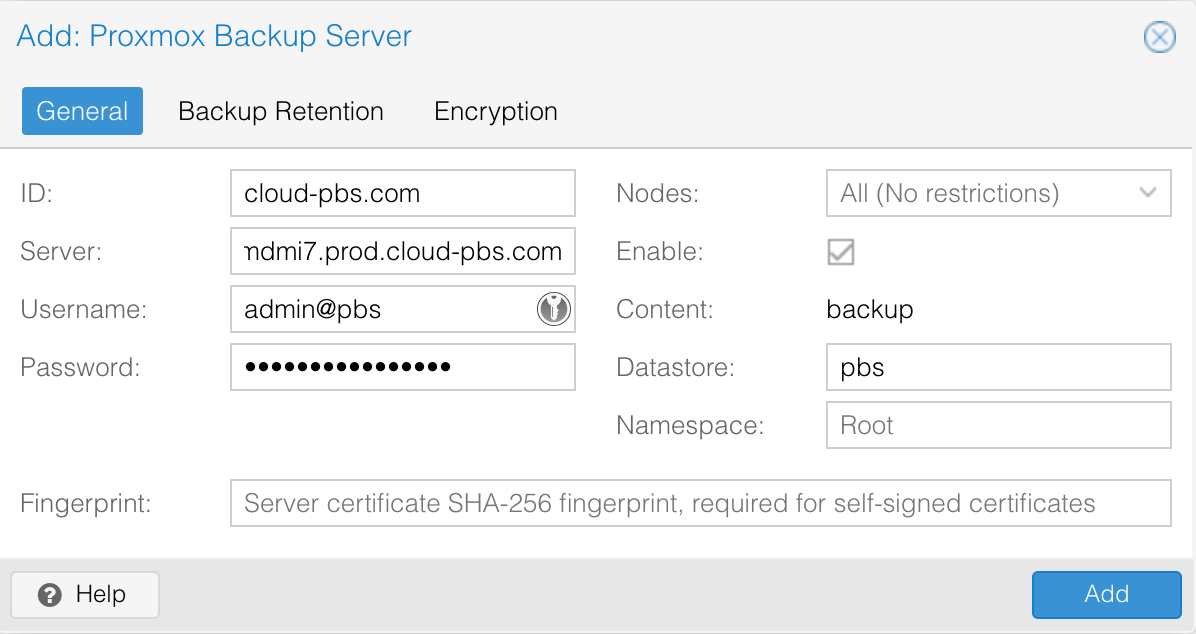
Without 2FA
Command line on your PVE host
pvesm add pbs cloud-pbs.com --server <your-cloud-pbs-url> \
--datastore pbs --username admin@pbs \
--password <your-cloud-pbs-admin-password>
GUI from your PVE web interface
4. Check the verify jobs
Proxmox Backup Server is a powerfull backup solution for your Proxmox Virtual Environment, it can verify periodically your old backups to check if chunks are altered or missing. Here is the official documentation provided by the Proxmox backup team.
Your cloud-pbs.com instance has a default verification job scheduled every days at 1:00AM for new backups, with a 30 days intervals for already checked.
You are free to change this interval
To edit the job, go to the web interface :
-
Select the pbs datastore on the left.
-
In the Verify Jobs tab, select the existing job and Edit.
-
Edit the schedule tab, according to your needs.
5. Check the pruning job
The prune jobs are used to clean the old backups.
By default, your cloud-pbs.com instance has a prune job configured every days at 06:00AM.
You are free to change this interval
To edit the job, go to the web interface :
-
Select the pbs datastore on the left.
-
In the Prune & GC tab, select the existing job and Edit.
-
Edit the schedule tab, according to your needs.
6. Join us on Discord
Discord is a nice tool to chat and communicate quickly.
You can join us by following this link.
Come and let’s have a chat !